
This ten-year-old post about mitered corners is a favorite on Pinterest and I thought I should update the delivery of the information. I still use the same method for making mitered corners. They don’t have to be hard!
A little bit of math is needed when making a mitered corner. You will need more length than the usual straight border requires to make the miter.
Length of side + 2.5 x border-width = length needed to make mitered corner
For example: quilt top is 60″ x 72″, and border width is 3 1/2″
60 + 3.5 x 2.5 = 60 + 8.75 = 68 3/4″
72 + 3.5 x 2.5 = 72 + 8.75 = 80 3/4″
Do the multiplication first, then add the length. I usually round up to make sure there’s sufficent length – better safe than sorry!
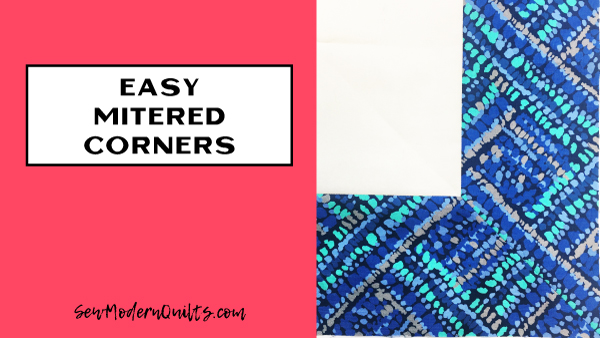
Watch the video for a step by step look at my process and how simple it is to add mitered corners to your projects.
Video Tutorials
I’ve committed myself to share weekly videos, starting with all the basics! I would love for you to pop over and leave a comment on the video, and subscribe to my channel while you are there. In your comment, let me know what you would like to see in a video tutorial.
Are you already adding mitered corners to your projects? I’d love for you to share the video with a friend that is new to quilting. Or on your Pinterest boards. As a more experienced quilter, we can forget all the basics that we’ve learned along the way. It’s easy to gloss over them when speaking with a new quilter.


